
How To Change CPU Fan Speed Without BIOS
The best way to change the fan speed of your CPU is via accessing the BIOS. It is the recommended and best method of doing so. However, if you are reading this article, I am going to assume that accessing the BIOS is not a possible option.
So, in this article, I will be telling you about the other methods using which you can increase or decrease the fan speed of your CPU without BIOS.
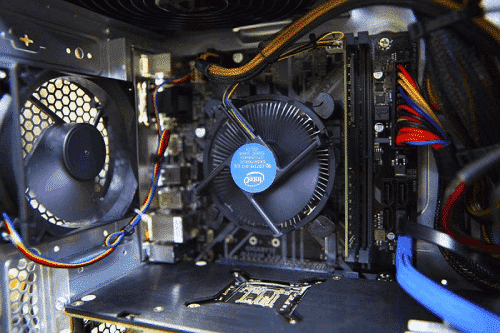
how to change CPU fan speed without BIOS
1. Using Fan Speed Software
Okay, so if changing the fan speed is not possible using the BIOS, I recommend you download a fan speed control software. There are a number of them out there to choose from, go through the list and see which one you prefer.
Set it to “automatic” and let the software handle it all. Whenever your PC gets too hot, the software will increase the fan speed when it feels the CPU is getting hot and slow it down when the heat dissipates.
Choosing the right software is important, though. Do not just go with any. Read the reviews, see the functionally, make sure it is compatible and works as advertised.

If you do not know what you are doing, I would recommend keeping things set to “automatic” as manually making changes can harm your hardware if not done correctly.
Sometimes though, this software are not an effective solution. They may not work as well, not let you make changes or, in some cases, downright not recognize your fan. If it happens, do not get heated up; there are other solutions!
2. Buy External Fan Speed Controller
If you have a proper gaming setup, I am going to take a guess and say that you are not using the inbuilt fan for your CPU. See, there is the problem. Many software only work on inbuilt CPU fans and case fans. In that case, the best bet for you is to get your hands on an external fan speed controller.

These external controllers fit right into the drive bay of your PC. They come equipped with knobs that let you control the speed of the fan. These knobs allow you to both increase and decrease the speed of your fan. But this solution will only work for PCs as laptops do not support fan speed controllers.


3. Changing fan settings in the Control Panel
If you are using Windows 10 and if none of the above solutions are for you, you can control the fan speed in the control panel. Just follow the following steps:

Conclusion
That concludes this article. The above 3 ways are the best methods that you can employ if you wish to change the speed of your CPU. Sometimes you should have control over as being able to manipulate the speed of your laptop or PC is extremely useful under certain circumstances.
The best and recommended method is via BIOS but if that is not an option, now you know what to do. Hope this how to change CPU fan speed without BIOS article helped you!
