How to Install Water Cooling CPU – Easy DIY Methods
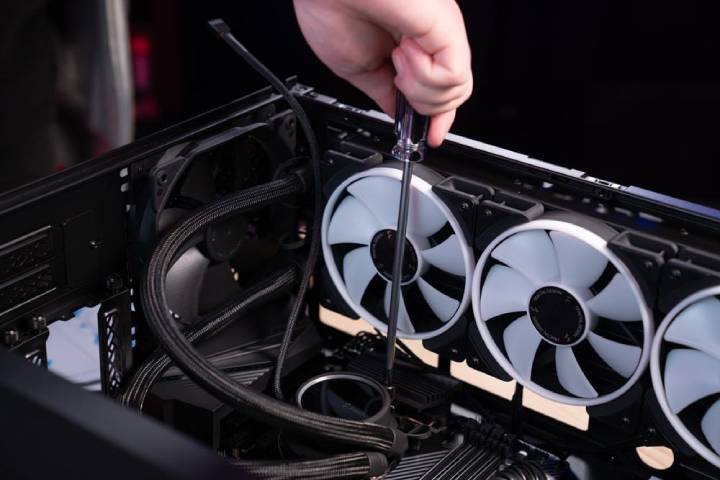
If your PC has a high-end hardware rig with all the bells and whistles, chances are you’re doing a lot of heavy work or intense gaming. Or maybe you don’t have a fancy setup, but you often hear the whirring of a fan warning you that your PC might not be handling the heat very well.
Nowadays, the fans that come with your CPU might not be enough to keep up with the demands you’re making of your machine. If you’re looking into alternate cooling options, you should ask yourself—do you need liquid cooling?
If you mostly do light work on your PC and don’t tire it out with long gaming sessions, you can probably be satisfied with no cooler or possibly an air cooler if you feel it’s necessary. But if you’re a regular user and often tap into overclocking, play games with detailed graphics, or work in hot environments, you might need a better cooling system.
Water coolers are a great alternative because water manages heat very efficiently. Also, unlike your air cooler fans, water coolers are quiet and operate smoothly. Gamers also love the aesthetic of a good water cooler, and there are lots of options out there so you can customize your rig according to your preferences.
The LED lighting is a huge plus. Water cooling a PC is a great option if you’re struggling to keep the temperatures low, so this article will walk you through everything you need to know about water coolers.
WATER COOLING COMPONENTS
To get your liquid cooling setup in place, you need to be familiar with all the parts. Most modern liquid coolers nowadays are relatively easy to install and often come with instructional videos or manuals. But since you may have to put it together on your own, it helps to know more about the parts you’re working with. You might also need to buy some extra components. We’ll walk you through the basics.
We can’t fix something if we don’t even know what’s causing it. Let’s see what really causes a CPU and a GPU to bottleneck. It may seem like that you either have a slow processor or a poor graphics card that is causing your bottleneck issues and by simply replacing those, you can get rid of it.
However, that is not the case. The different games that you load and play on your PC contribute to bottleneck. As all games are not designed to be similar, they are all CPU-dependent and GPU-dependent.
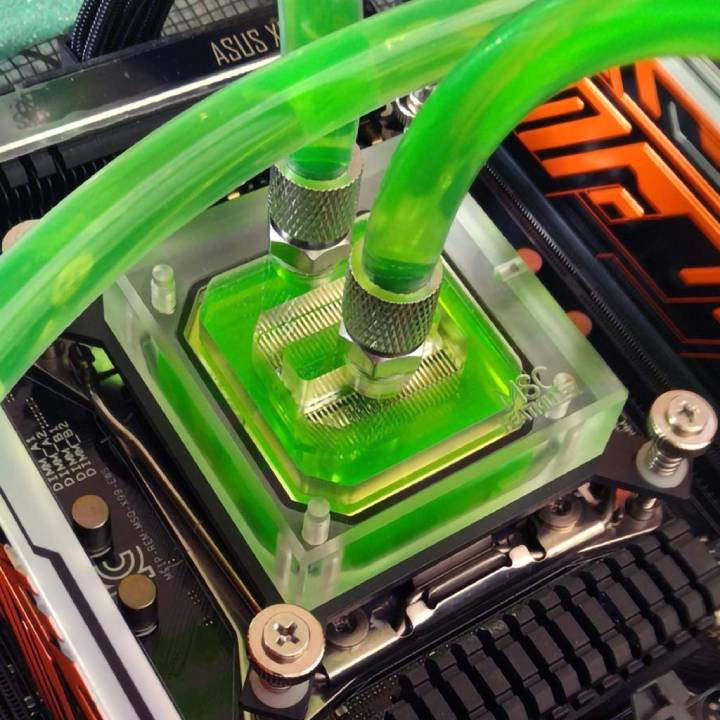
GPU blocks are essential because they take heat away from the graphics card components in your CPU during critical points to manage to overheat. They vary a great deal in design and performance, and your GPU block does need to be compatible with your graphics card, so make sure you check compatibility carefully before you purchase a block. Some GPU blocks are only compatible with a handful of cards.
Memory blocks are for RAM cooling and are good for overclocking and maintaining an overall lower ambient temperature. RAM doesn’t overheat as much as your CPU and GPU, though, so it’s worth assessing whether you need a memory block at all. Some people buy them for purely aesthetic reasons, as they come with RGB lights. If you’re on a tight budget, you can skip the memory block, but CPU and GPU blocks are must-buys.
A watercooling PC kit is incomplete without fittings. Nowadays, you get compression fittings of primarily two types, STC (Soft Tubing Compression) and HDC (Hard Tubing Compression), and acrylic fittings are also available.
Acrylic fittings are compression fitting and work better with hard tubes as they don’t exert as much force onto the tubing. Barbed fittings are available as well, but they’re not as popular as compression fittings. Angled fittings can be a good choice if you’re trying to build a clean setup that looks quite neat.
They also make fitting components easier. You should also invest in a stop valve so you can maintain the loop without too much fuss.
Tubing may be soft or hard. Soft tubing isn’t that expensive, and it’s easier to set up custom loops with soft tubes. However, you might have to deal with kinks and clouding issues, although it is easier to handle soft tubing if you’re new to DIY PC cooling.
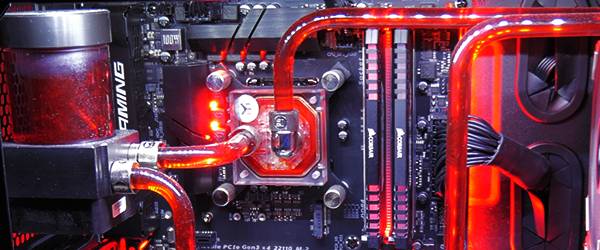
Hard tubing can be expensive, but you don’t have to handle kinks, and clouding won’t be an issue. However, you can get tougher soft tubing nowadays to combat the issue with kinks, and cheaper hard tubing is also available.
Mostly, people choose between the two based on which they prefer aesthetically, as there isn’t a huge difference between the two types.
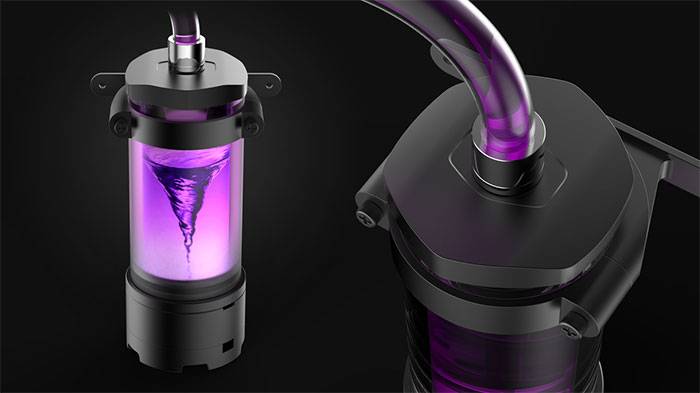
You may have seen several sellers advertising a water cooling pump and reservoir, but proceed cautiously when it comes to buying. A PC liquid cooling reservoir isn’t strictly necessary, but you can use it to fill the coolant used in the loop and keep everything running and in good shape.
It’s convenient to buy one, but you can get by without a reservoir. You will need a pump, though. That’s an unskippable step. The pump keeps the liquid flowing and keeps the heat away from the components that need cooling.
A radiator is essential to the process of water cooling a PC, and it’s where the heat must be channeled away to prevent damage to the core components of the PC. You will also need fans (which will be attached to the radiator) to manage the heat.
Your radiator setup will depend on how much space is available in your case or chassis, so take a look at the FPI (fins per inch) of your radiator. If your radiator has a high FPI, you’ll probably need static pressure fans to accommodate that so air can circulate properly in the radiator.
Lower FPIs mean you can manage with airflow fans. Generally, though, static pressure fans are better suited to (and optimized for) radiators, as they use resistance to push away heat.
HOW TO INSTALL WATER COOLING CPU
Now that you’ve got all the PC water cooling components you need at your disposal, you’re probably wondering how to set up water cooling on a PC. It might be a bit overwhelming for tech newbies, but we’ve got you covered.
You will need to choose a watercooling case. There’s a large variety of cases available out there, but it’s a good idea to look for cases built specifically for water cooling by well-known brands that sell many products in that line. Companies like Corsair, Caselabs, Phanteks, and Fractal are quite reliable.
Try and pick the best PC case for watercooling which suits your computer size, and once you’ve chosen a case, you can figure out how you’re going to set up your radiators inside it. You should also think about how you’re setting up your tubing. Will you use single or double loops?
You can then sketch out a rough plan of your setup, including fittings, tubings, your water cooling reservoir and pump, your CPU and GPU blocks, and so on.
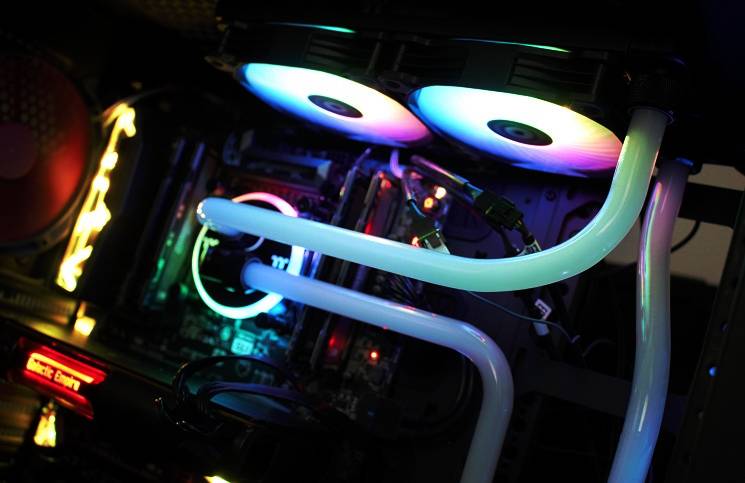
Any building work should be done outside the case. When putting the pieces together, make sure all internal components are firmly in place and secure.
Put aside any hard drive bays that happen to be in the chassis, and make sure you test the GPU, CPU, and memory with standard coolers before using the blocks. Then install the radiators and the fans, attach the reservoir, and you’re good to go.
Now let’s address some more water cooling basics. You’ve probably put a lot of thought into how your DIY PC cooler will look, so you don’t need any untidy cables messing it up. If cables are lying around here and there, it’ll affect the overall airflow and might interfere with your tubing when installing liquid cooling, every detail matters.
You can buy custom-sleeved cables or just sleeve the cables yourself. This makes it easy to maintain a neat setup, and you can color-coordinate your cables as you like.
If you’re dealing with a surplus of fan wiring, try using a fan hub as well, so you can use a single controller to power the fans. Cables and wires mustn’t restrict or clog up the tubing, as this can affect the cooling process.
Once you’ve got everything else in place, it’s time to set up your tubing so you can properly install liquid cooling. Start with some excess tubing, and use it as a connector between two points. Attach the tubing to your fittings.
You may need some pliers or a similar instrument to screw in the tubing, just be careful and go slowly. Repeat the same process with the other fitting, and you should have a looped tube. Then, you have to prime the tube. Keeping the reservoir above the pump, fit the tubing into the reservoir.
You’re then ready to start water cooling your PC. Once you’ve made sure everything is unplugged and not connected to a power source (your CPU, motherboard, graphics card, etc.), you can pour your coolant into the loop.
Once the entire loop is filled, you can congratulate yourself because you’ve just figured out how to set up liquid cooling on your PC!
WHY DO I NEED WATER COOLING?
Let’s face it, setting up DIY water cooled PC is exciting, fun, and very useful for people who are regular gamers or use their computers for other intense activities. But the dollars can stack up when you’re investing in this, and if you’re new to the whole thing, it can seem like a bit of a steep climb to install a water cooler on your own.
If you’re not a user who relies much on overclocking or you just need a better heat management system, air cooling is also worth looking into. Air coolers used to lag when compared to the technology that propels a DIY water cooling PC, but nowadays, air coolers have come forward in leaps and bounds.
Several hardware developments lately have made it possible for air coolers to be highly effective and efficient. They cost less, and they’re easier to assemble and maintain than water coolers. For most people, an air cooler will do the job.
However, if you’re massively into gaming and rely extensively on overclocking, then you do need to protect your processor while you do so. In that case, you really can’t beat water cooling, so that’s the way to go.
Pros and cons of water cooling PC
As we’ve already hinted at, water cooling your PC can be a bit complicated but is also majorly beneficial. Let’s look at the pros and cons.
Pros
- It is probably one of the best heat management solutions out there, especially for gamers.
- Great for overclocking.
- It gives you a lower ambient temperature.
- Very quiet (some air coolers can be noisy).
- Looks amazing.
- You can set up an entirely custom build with RGB lighting, loops, etc.
cons
- You have to keep an eye out for potential leaks, as seals and gaskets can fail.
- Requires regular maintenance
- They can be quite expensive, ranging from $200 (at a starting price) to $2000 for custom loop setups.
- Since there are several good air cooling solutions out there, water cooling may not be worth the extra dollars
- if you’re a regular PC user.
If you want to install liquid cooling on CPU now, it should be much easier to figure out from here on out! When it comes to water cool PC parts, you have to be aware that it’s an expensive and intensive process.
If you’re worried you might not reap the maximum benefits, you can always test out an air cooler and see how that’s managing to take the heat. However, if you do want to try one of the best cooling systems available, or if you’ve got an expensive PC setup that you feel deserves the best, you can’t go wrong with liquid cooling!
FAQ
A lot of gamers worry about whether they need a reservoir. A reservoir isn’t necessary, as we mentioned before. Still, it doesn’t cost a great deal more to get one (you can get reservoirs for around $30), and using a PC liquid cooling reservoir does make a difference, especially if you’re planning to use your liquid cooler to lower the temperatures of a lot of components, and not just one or two.
It’s also quite convenient to have a reservoir because filling the loop is much easier with a reservoir, you have fewer bleeding issues, and overall maintenance becomes simpler. So all in all, you don’t need a reservoir, but it is highly recommended!
There are a lot of factors to consider here. Your CPU’s temperature will depend on the size (and number) of your radiators, the coolant you’re using, how your CPU normally functions, and so on. Your temperatures shouldn’t run much higher than 70-75°C during heavy gaming.
A general range of 60-80°C when your CPU is under maximum load is the safe zone. Certain models have a reputation of getting warmer than usual as well. When your CPU is just idle, temperatures shouldn’t run higher than between 25-35°C.
There’s no strict ‘average,’ but if you find yourself having issues even with your water cooling setup, you might be overclocking beyond your computer’s capabilities. It could also be the case of a messy or badly put-together DIY water cooling PC setup or a maintenance issue.
For each component, you’ll require two fittings. One is for an inlet, and one is for an outlet. Aside from fittings for your CPU and GPU blocks and pump and computer reservoir, you’ll need fittings for radiators (if you use more than one radiator) and splitters, and you should also get extras for drainage.
At a minimum, you’ll need a total of ten fittings, but to make the best of your setup, you can use twelve or more, depending on the number of components you’re working with.
A G1/4” thread is used with fittings. While there are other sizes available (the G1/4” is around 12.9mm wide), this is used most commonly in water cooling setups, and all of your fittings must be compatible with this thread. If you’re using larger tubes, this may create an issue as the G1/4” requires an inner diameter of 9-10mm (for the fitting).
This can cause water blocks in larger tubes because the liquid flow will be restricted, and you’ll lose the benefit of a decent flow rate. So make sure all your fittings are compatible with each other and with the G1/4” thread before you buy them!
Unless you’re building or updating an older water cooling system with G1/8” or G3/8” threads, you’ll need the G1/4” thread for all your fittings.
Conclusion
From this article, you come to know how to install water cooling for CPU. Share your comments below regarding our article!

