How To Switch To HDMI On Laptop

HDMI or High Definition Multimedia Interface is an uncompressed, all-digital audio/video interface. It delivers uncompressed digital audio and video information to be transmitted through it at high speed.
HDMI offers an interface between any audio/video source, like a DVD player, set-top box or A/V receiver, and an audio/video monitor (such as a television) over a single cable. In this article, we’ll be telling you how to switch your laptop to HDMI so that it can be used as a source.
how to switch to HDMI on Laptop
1. Determine the connection type for the LAPTOP
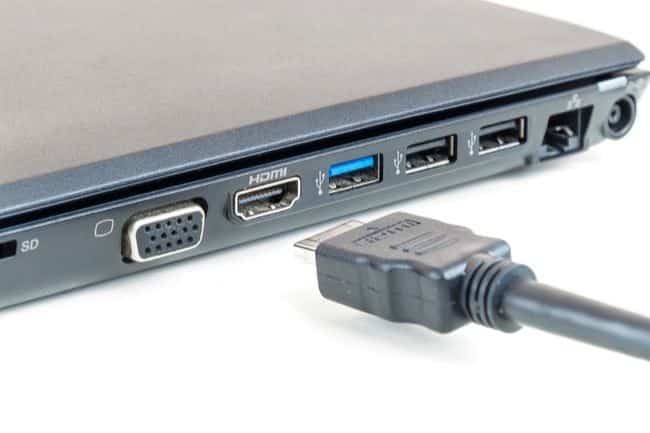
Depending upon your laptop size, there are three types of HDMI connectors that you can choose from: -
- Standard: This is the connector you will generally find in modern television sets.
- Mini: This is intended for small, portable devices.
- Micro: This is intended mainly for portable devices such as cameras and camcorders. However, some small laptops also have this connector type.
2. Connect the laptop to the TV
- Once you have an HDMI cable, connect one end of the cable into an HDMI port on your TV. Note the HDMI input number it is being connected to (HDMI1/HDMI2/HDMI3).
- Connect your laptop’s HDMI output port to the other end of the HDMI cable.
- Ensure that the TV and laptop are powered ON.
- Set your television to the HDMI input port that your computer is connected to.

3. Identify computer displays
If your laptop’s display does not appear on the TV automatically, you need to have the computer manually detect the TV screen.
- Right-click anywhere on your desktop. Select display settings.
- In the display settings window, you will find the displays currently connected to your laptop.
- Ideally, if the television is being detected, the laptop should be showing two displays connected.
- If it is detecting only one display, click on Detect. The laptop will attempt to detect another screen connected to the output port, i.e., your television.
- Once both the displays are detected, click on Identify. Each screen’s assigned number will be displayed on your laptop screen briefly.
4. Set display preference
You can choose how you want the laptop to handle the second display.
- Select the display number corresponding to the television screen from the Display menu.
- Scroll down to Multiple displays, and choose how you would like the TV display to function. It has two settings for you to choose from: -
- Extend desktop to this display: This option expands your work area (screen) across both the screens. It allows you to get more workspace so that you can display different things on each screen.
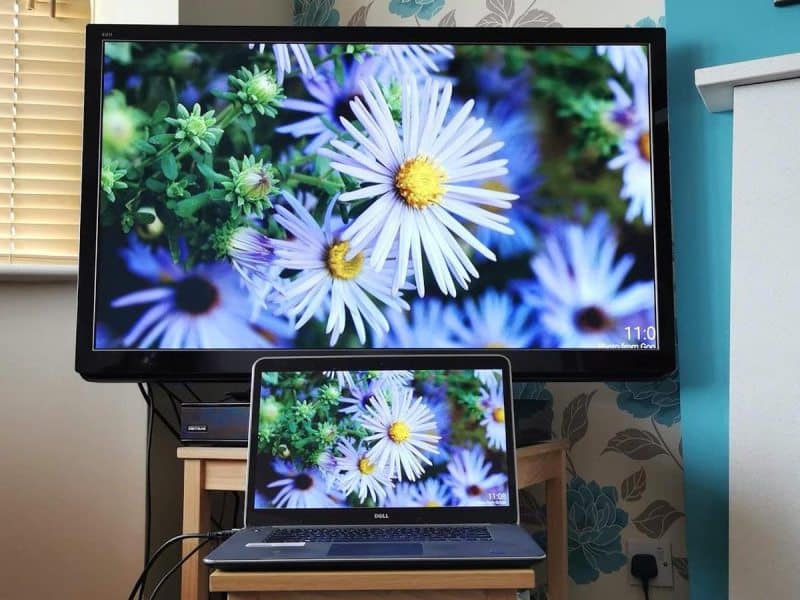
- Duplicate desktop: This will display the same image on both the screens. It is commonly used during presentations, so you can demonstrate what’s on your screen to a group of people.
And that’s it. These are the steps to follow if you are using a Windows laptop. In most cases, the switching is pretty straightforward. If you are a Windows 10 user, you can switch to HDMI in just four simple steps: -
- Switch off the laptop and turn off the TV.
- Connect the HDMI cable to the laptop and TV.
- Switch on your TV and set input to the HDMI input port that is connected to the laptop.
- Switch on your laptop.
However, since this is not how all laptops work, you can refer to the detailed steps listed above.
SWITCHING TO HDMI ON MACOS
If you use macOS, then the steps to be followed will be a bit different: -
1. Connect the laptop to the TV
- If your MacBook has an HDMI port, plug the HDMI cable into it. If it does not come with an HDMI port, then you will need to plug an adapter into the laptop’s output port.
- Connect the HDMI cable to the adapter. The other end of the cable will be connected to the TV.
- Switch on your laptop (if it isn’t ON already)
- Set the TV’s input source to the HDMI port that is connected to the laptop.
- The laptop will recognize the TV instantly and extend the desktop across the TV screen.

2. Configure the output on the TV screen
- By default, the laptop will use the TV as an external display so that you can use the TV as an extra-large monitor.
- Set Up Mirroring: This is useful if you want to watch a movie or a video.
- Once your laptop is connected to the TV via HDMI, open System Preferences on the computer.
- Click on Displays and then on Arrangements.
- Check the box saying Mirror displays.
3. Change sound output for a better audio experience
- You might want to set the audio output to go through the TV’s speakers for better sound.
- Open System preferences from the Apple menu. Select the Sound option.
- Click on Output. Look under Type and select the HDMI option.
- Remember that once you do this, you will have to adjust the volume using the TV’s remote control.
Conclusion
That’s all about "how to switch to HDMI on Laptop". We have explained the steps in detail for both Windows as well as macOS. Now you can enjoy watching movies and videos, or playing games on the bigger and better TV screen. All the best!

